HOW TO APPLY BOTTOM FALSE EYELASHES
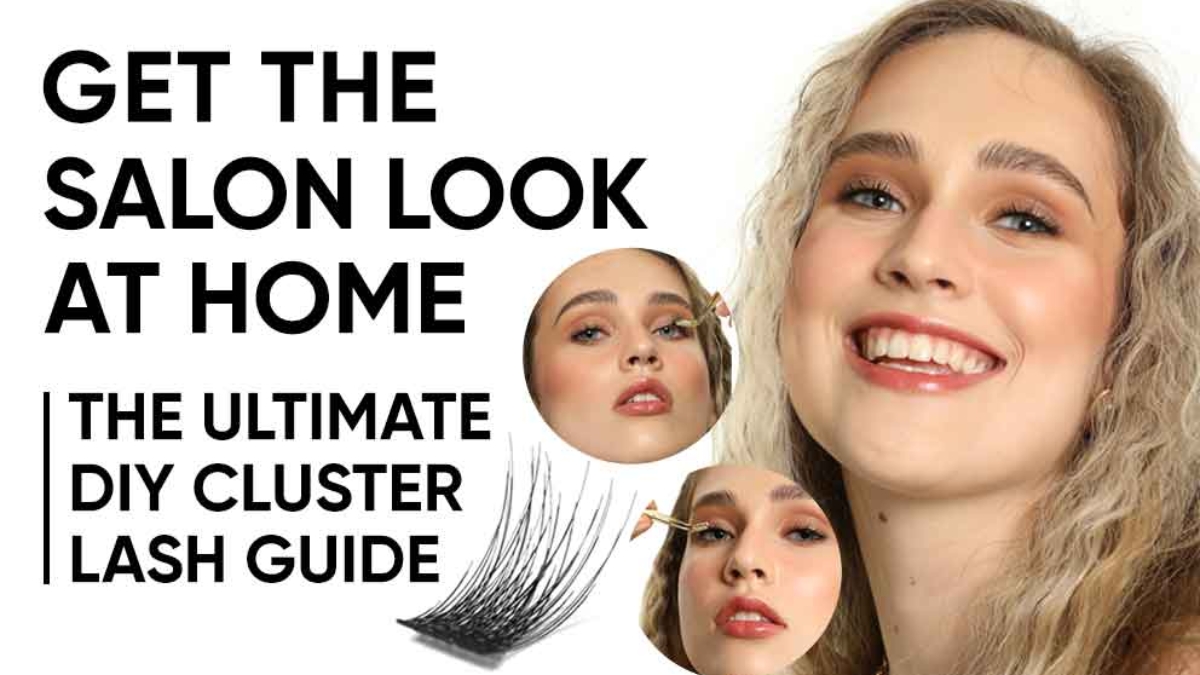
Want the stunning volume and natural blend of lash extensions without the salon price tag? Royal Korindah is thrilled to introduce our brand-new DIY Cluster Lashes, designed to give you a professional, stunning look right from the comfort of your own home.
What makes our clusters the game-changer in DIY beauty? It’s our superior, comfortable design:
The Ultra-Light Difference: Our clusters are crafted using a patent-pending 0.03mm superfine lash fiber. These are the lightest lashes you will ever wear, mimicking the weight and texture of natural lashes, making them virtually undetectable once applied.
Seamless Blend: The extreme thinness ensures the clusters blend flawlessly with your own lashes, giving you a beautiful, professional look that lasts.
Maximum Comfort: You can wear these all day and night without any irritation or “pokey” feeling.
DIY Cluster Lashes are your secret weapon! Applied in small segments under your natural lashes, they offer a comfortable, customizable, and long-lasting look that strip lashes can’t match.
Here is your essential guide to mastering this at-home beauty hack!
Your Cluster Lash Toolkit
The secret to a successful DIY set is having the right specialized products. Look for a dedicated DIY lash kit that includes all four of these items:
|
TOOL |
PURPOSE |
KEY TIP |
|
Lash Clusters |
Small segments of lashes (usually 3-10 hairs per cluster). They come in various lengths and curls (e.g., 10mm, 12mm, 14mm) for a customized look. |
Plan your lengths: Shorter in the inner corner, longer on the outer edge. |
|
Bond (Adhesive) |
A specialty, mascara-like glue designed to keep clusters on for multiple days (often 3-7+ days). It comes in a tube with a spoolie or brush. |
Use a very thin coat; less is more to prevent clumping and irritation. |
|
Applicator/Tweezers |
Curved or specially shaped tweezers/applicators used for precise placement and securing the bond. |
Ensure the tips of your tool are clean to prevent sticking. |
Step-by-Step DIY Cluster Lash Application
The technique is different from strip lashes, as you’ll be applying the segments underneath your natural lash line for an invisible band.
Step 1: Prep is Essential
- Cleanse: Start with completely clean, dry lashes. Use an oil-free cleanser or makeup remover to ensure there is absolutely no oil or makeup residue, which can break down the bond.
- Map Your Look: Decide on your style and the length sequence (e.g., starting with 14mm on the outside, then 12mm, then 10mm toward the inside).
Step 2: Apply the Bond
- Use the wand from the Bond tube to apply a thin coat to the underside of your natural lashes, focusing on the root area where the clusters will attach.
- Do not apply the bond all the way to the tips of your natural lashes. Wait 15-20 seconds until the bond is slightly tacky.
Step 3: Place the Clusters (Under the Lash)
- Using your applicator/tweezers, gently grab a cluster by its base.
- Look down into a mirror (this helps expose your under-lash line).
- Carefully press the base of the cluster up underneath your natural lashes, about 1mm away from your actual eyelid skin/waterline. Never apply them directly to your skin.
- Start from the outer corner and work your way inward, overlapping the segments slightly for a seamless look.
- Use your applicator or a clean pair of tweezers to gently crimp or squeeze your natural lashes and the cluster bases together. This fuses the lashes and helps ensure a comfortable, strong hold.
Pro Tips for a Flawless Finish
- Look Down: Always use a mirror placed on a counter and look down into it. This keeps your eyelid slightly stretched and lets you see the base of your natural lashes clearly for correct placement.
- Avoid the Waterline: Correct placement is crucial for comfort. Place the cluster on the lashes themselves, avoiding the delicate skin of your eyelid and waterline. If it feels pokey, gently adjust it or remove and reapply.
- Be Gentle: When picking up the cluster, grab it by the base—never the delicate lash hairs—to avoid damaging the shape.
- Removal: Use eye-make up remover. Saturate a cotton swab and gently roll it over the bonded area, letting it sit for a minute to dissolve the glue before gently sliding the clusters off. Never pull or pick!
GET THE LOOK!

Add a Comment